THE ULTIMATE LEATHER DYEING GUIDE
Share
The craft of Leather Dyeing Guide gives new life to leather items, enabling them to be personalized and worn-out goods rejuvenated. This manual is for everybody, from beginners to professionals in the field of leatherworking, and it will cover everything there is to know about dyeing with leather in a way that ensures professional results every time.
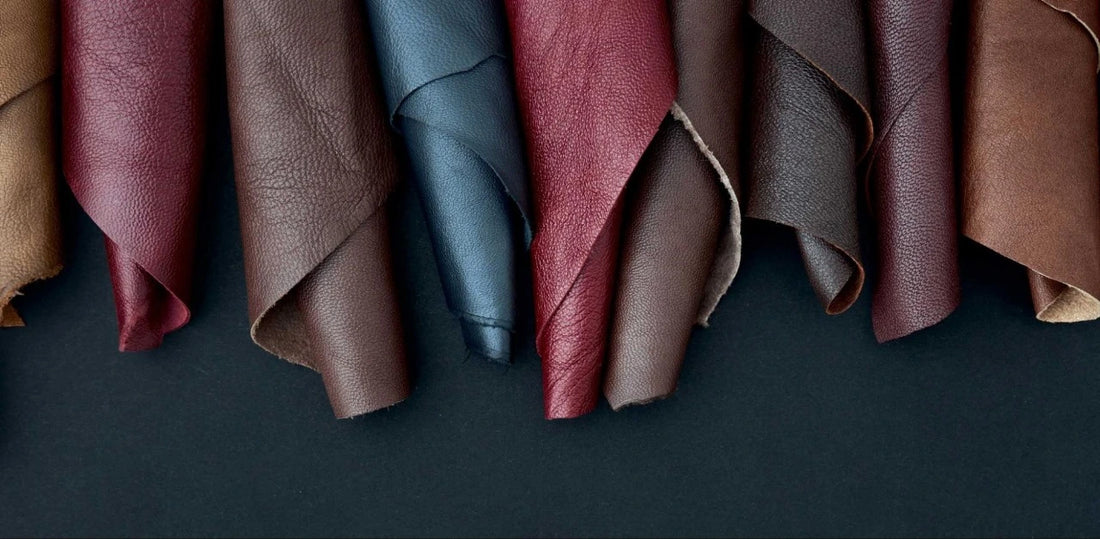
Understanding Leather Types
Before embarking on your leather dyeing journey, you must grasp the nuances of the leather type you're handling. This knowledge is the bedrock of successful dyeing, preventing potential mishaps, and ensuring optimal results.
Full-Grain Leather:
The highest quality leather retains the complete grain and natural markings. It absorbs dye well and develops a beautiful patina over time.
Top-Grain Leather:
Slightly sanded to remove imperfections, it absorbs dye effectively and offers a uniform appearance.
Corrected-Grain Leather:
This type of leather is treated to remove surface imperfections and is often embossed with an artificial grain. Dye absorption can be inconsistent.
Bonded Leather:
Crafted from leather scraps bonded with adhesives, this type is not conducive to dyeing. Its poor dye absorption makes it an unsuitable choice for this process, saving you from a potentially fruitless endeavor.
Types of Leather Dyes
Leather dyes come in various types, each suitable for different applications and effects:
- Water-based dyes are non-toxic, environmentally friendly, and easy to clean up. They penetrate the leather well but may require multiple coats.
- Alcohol-Based Dyes: Known for their deep penetration and vibrant colors, they dry quickly and provide a more durable finish.
- Oil-Based Dyes: These dyes are excellent for achieving a deep, rich color and are less likely to cause streaking. They are ideal for larger projects.
- Acrylic-Based Dyes: These surface dyes provide a flexible, water-resistant finish and are perfect for intricate designs and artistic projects.
How to Dye Leather: A Detailed Guide
Dyeing leather is a rewarding process that allows you to breathe new life into old items, customize new pieces, and explore your creativity. To achieve professional and lasting results, it's crucial to understand each step of the process. This detailed guide will walk you through the preparation, dyeing, and finishing stages to ensure your leather dyeing project is successful.
Step 1:
Before you begin, ensure you have all the necessary materials and tools:
- Leather Dye: Choose the appropriate type (water-based, alcohol-based, oil-based, or acrylic-based).
- Leather Cleaner: This is used to clean the leather surface.
- Leather Deglazer or Acetone: To remove any existing finish.
- Protective Gloves: To protect your hands from the dye.
- Soft Cloths or Sponges: For cleaning and applying dye.
- Brushes or Daubers: For applying dye.
- Masking Tape: To protect areas you don't want to dye.
- Plastic Drop Cloth or Newspaper: To protect your workspace.
- Leather Conditioner: To moisturize the leather after dyeing.
- Sealant (optional): To protect the dye and finish.
Step 2:
Cleaning the Leather
- Dust and Dirt Removal: Use a soft cloth to wipe away any dust or dirt from the leather surface.
- Deep Cleaning: Mix a solution of water and mild soap, then use a cloth to gently clean the leather. Make sure to remove any oils, residues, or stains.
Deglazing the Leather
- Apply Deglazer: Use a leather deglazer or acetone on a cloth to rub the leather surface. It will remove any existing finish, ensuring the dye penetrates evenly.
- Drying Time: Allow the leather to dry completely before proceeding to the next step.
Masking
- Protect Areas: Use masking tape to cover parts of the leather you don't want to dye, such as hardware, zippers, or fabric linings.
Step 3:
Perform a Patch Test
- Select an Area: Choose a small, inconspicuous area of the leather.
- Apply Dye: Use a small amount of dye to test the color and absorption.
- Evaluate: Allow the dye to dry and assess the color and finish. Adjust your dyeing approach if necessary.
Step 4:
Preparing the Dye
- Mix Well: Stir or shake the dye thoroughly to ensure an even color.
- Pour Dye: Pour a small amount of dye into a separate container for easier application.
Applying the Dye
- First Coat: Using a brush, sponge, or dauber, apply the dye in light, even coats. Work in sections and use a circular motion to ensure even coverage.
- Drying: Allow the first coat to dry completely, typically for 24 hours. It prevents streaking and uneven coloration.
- Additional Coats: Apply additional coats to achieve the desired color intensity. Let each coat dry thoroughly before applying the next.
Blending and Shading
For more advanced dyeing techniques, you can blend multiple colors or create gradients:
- Blending Colors: Apply a base color and layer different colors on top while the base is still slightly wet. Use a sponge to blend the colors seamlessly.
- Shading: Apply a darker dye along the edges or seams and blend it into the base color to add depth and dimension.
Fixing Mistakes
If you encounter streaks or uneven areas, use a cloth dampened with rubbing alcohol to gently rub and blend the area. For significant issues, reapply the deglaze and start the dyeing process again.
Step 5:
Conditioning the Leather
- Apply Conditioner: Once the dye is fully dry, use a high-quality leather conditioner to restore moisture and suppleness. Apply with a soft cloth using a circular motion.
- Absorb and Buff: Let the conditioner absorb fully, then buff off any excess with a clean cloth.
Sealing the Dye (Optional)
To protect the dyed leather from moisture, fading, and wear, apply a leather sealant:
- Spray Sealants: Hold the can at a consistent distance and apply even coverage. Allow it to dry between coats.
- Liquid Sealants: Apply with a sponge or cloth in thin, even coats. Let each coat dry completely before applying the next.
Buffing and Polishing
Once the sealant is dry, buff the leather with a soft cloth to enhance its shine and smoothness, giving it a professional finish.
Conclusion:
Dye leather is a skill that involves creativity and patience; every step must be done right for it to work. You can follow this comprehensive Leather Dyeing Guide, which will help you get better-looking results that last longer and improve anything made from leather. Do not skip any part of the instructions, from softening your materials down through dying up until finishing them off. You should also try various methods during this process to not limit yourself creatively but, most importantly, enjoy seeing dull shades turned into bright pieces of artwork.